
How Does DTF Printing Work? A Simple Step-by-Step Guide


Custom apparel has come a long way from basic one-color designs. Today, small businesses, clothing brands, schools, creators, and print shops can produce detailed designs without investing in complicated traditional printing setups. One method that has gained attention for its flexibility is DTF printing.
DTF stands for Direct to Film. Instead of printing directly onto a shirt, the design is first printed onto a special transfer film and later applied to fabric with a heat press. The process may sound complicated at first, but once you understand each stage, it becomes much easier to follow.
What Is DTF Printing?
DTF printing is a garment decoration method that transfers printed artwork from a PET film onto fabric. The process uses specialized inks, adhesive powder, transfer film, and heat.
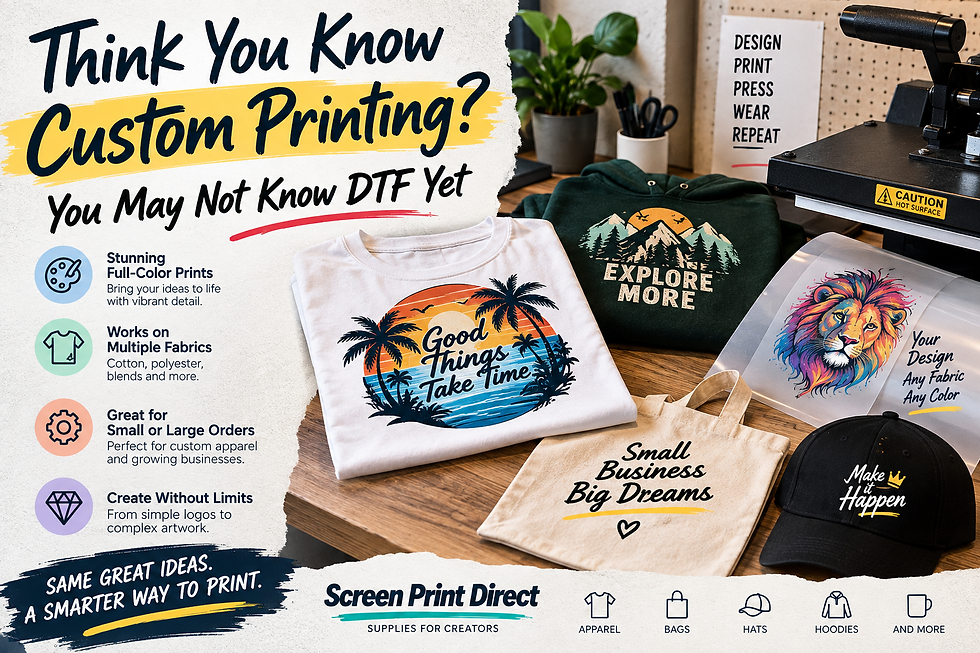
One reason this method is popular is its ability to handle colorful artwork, fine details, text, gradients, and images. It can also be used on a variety of garments, including cotton, polyester, blends, hoodies, tote bags, and other compatible materials.
Unlike some printing methods that require separate screens or extensive setup for every design, DTF transfers can be prepared relatively quickly, making them useful for custom orders and small batches.
What Do You Need for DTF Printing?
Before getting started, you will need several pieces of equipment and supplies:
DTF printer
DTF transfer film
DTF inks, including white ink
Hot-melt adhesive powder
Powder shaker or suitable application method
Curing oven or heating system
Heat press
Computer and design software
Compatible garments
Having the right materials is important because the quality of the final print depends on more than the printer alone.
Step 1: Prepare Your Design
Every project starts with artwork.
Create or upload your design using graphic design software. Before sending it to the printer, check the image dimensions, resolution, colors, and transparency. High-resolution artwork generally produces cleaner results, particularly when the design includes small text or detailed graphics.
Many DTF workflows use RIP software to control ink placement and manage white ink beneath the color layer.
It is also a good idea to consider the size and location of the design before printing. A design that looks great on a computer screen may need adjustments when placed on an actual shirt.
Step 2: Print the Design on Transfer Film
Once the artwork is ready, it is printed onto DTF film.
The printer deposits colored ink onto the coated side of the film. A layer of white ink is also used to create a strong base for the design. This white layer helps colors remain visible when the transfer is applied to darker fabrics.
The film needs to be handled carefully during this stage. Touching the printed area or allowing dust to settle on the film can affect the finished transfer.
Step 3: Apply the Adhesive Powder
This is an important part of the DTF transfer process.
Hot-melt adhesive powder is applied over the wet ink. The powder sticks to the printed areas, creating the adhesive layer that will eventually bond the design to the garment.
The powder should cover the printed area evenly. Excess powder should be removed so it does not create unwanted texture or marks around the design.
For businesses producing transfers regularly, a powder shaker can make this step faster and more consistent.
Step 4: Cure the Transfer
After applying the powder, the film needs to be heated so the adhesive melts and bonds with the printed ink.
This can be done using a DTF curing oven or another suitable heating method. Proper curing is important because insufficient or uneven heating can affect adhesion and durability.
Always follow the temperature and time recommendations provided for your specific film, powder, and ink combination.
Step 5: Prepare the Garment
While the transfer is being prepared, get the garment ready for pressing.
Place the shirt or other item on the heat press and make sure the surface is reasonably flat. A quick pre-press can help remove moisture and wrinkles.
Position the transfer carefully with the printed side facing the fabric.
Take a moment to check placement before pressing. Once the transfer is applied, correcting its position can be difficult.
Step 6: Heat Press the Design
Now the transfer is bonded to the garment.
Close the heat press using the recommended temperature, pressure, and pressing time for your particular DTF materials. These settings can vary, so there is no universal setting that works perfectly for every product.
The heat activates the adhesive powder and allows the design to bond with the fabric.
Step 7: Peel the Film
After pressing, the transfer film can be removed according to the manufacturer's recommended peeling method.
Some films are designed for hot peeling, while others require the garment to cool first. Following the instructions for your particular film can help prevent lifting or damaged artwork.
Peel slowly and carefully rather than pulling the film aggressively.
Step 8: Give It a Finishing Press
A final short press may be recommended after removing the film. This can help improve the bond and give the design a more finished appearance.
Use the recommended settings and, when appropriate, a protective sheet between the garment and heat press.
After the garment cools, inspect the design for any lifting edges, missed areas, or other issues.
Common DTF Printing Mistakes to Avoid
Getting consistent results takes some practice. A few common problems include:
Using low-resolution artwork
Applying too much or too little adhesive powder
Failing to cure the powder properly
Using incorrect heat-press settings
Pressing a wrinkled garment
Peeling the film at the wrong time
Ignoring manufacturer instructions
Neglecting regular printer maintenance
Proper preparation can prevent many of these problems before they affect a finished shirt.
Is DTF Printing Good for Beginners?
For someone entering custom apparel, DTF can be an appealing option because it supports detailed designs and does not require traditional screen preparation for each artwork.
It can also be useful for businesses handling personalized shirts, small orders, promotional clothing, and custom merchandise. However, producing professional results requires practice and attention to printer maintenance, color management, film handling, powder application, and heat-press settings.
Educational institutions and students may also find specialized purchasing options helpful. If you are eligible, an educational pricing program may make certain printing equipment and supplies more accessible for classroom projects, training, or educational use.
Start With the Process, Then Improve Your Results
The basic DTF workflow is straightforward:
Design → Print → Apply Powder → Cure → Position → Heat Press → Peel → Finish
The quality, however, comes from how carefully each step is performed. Learning how your printer, ink, film, powder, and heat press work together will help you produce more consistent transfers over time.
Whether you are experimenting with your first custom shirt or building a larger apparel business, understanding the process gives you a solid foundation. Once the fundamentals are familiar, you can begin exploring more advanced techniques, different garments, and ways to improve production speed and print quality.

Comments